Step-by-Step Installation Process:
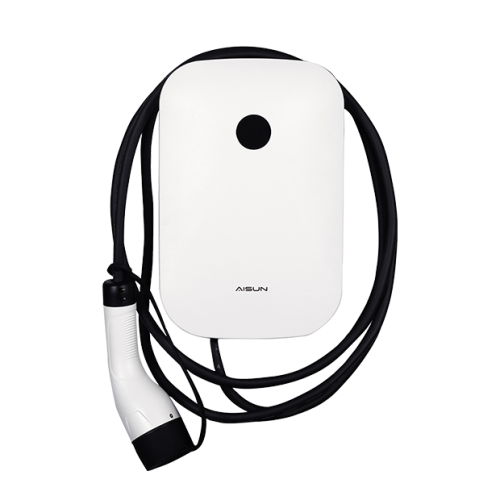
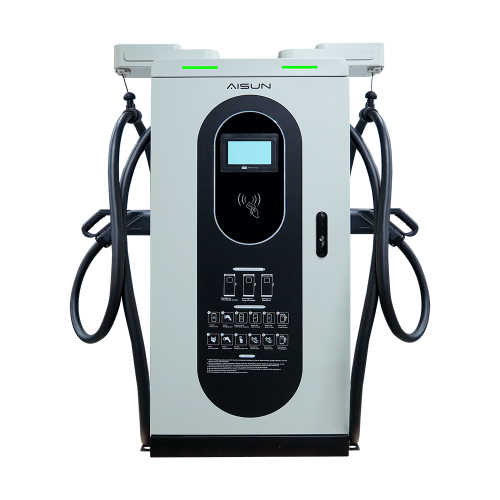
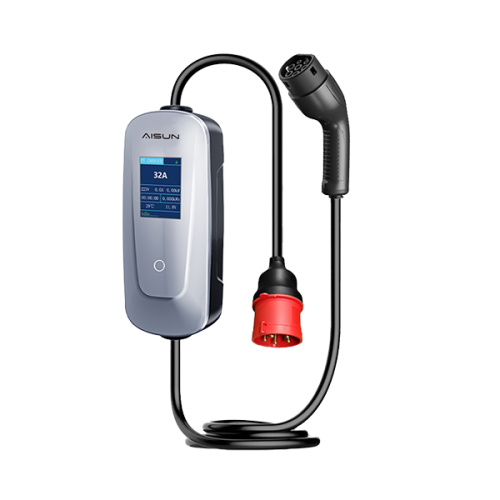
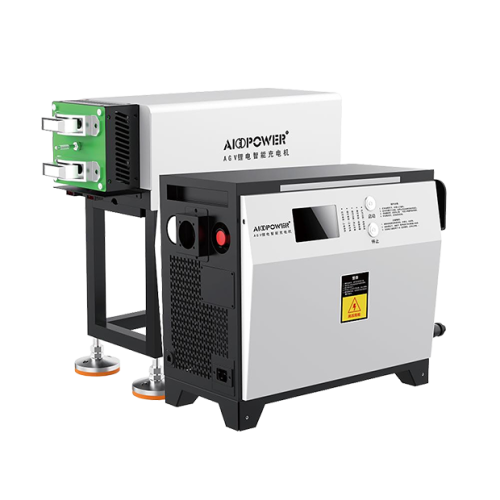
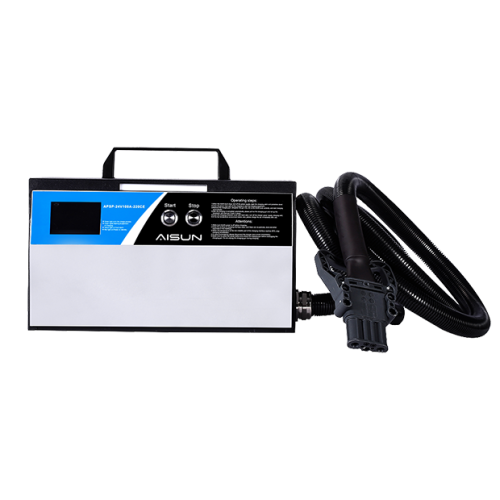
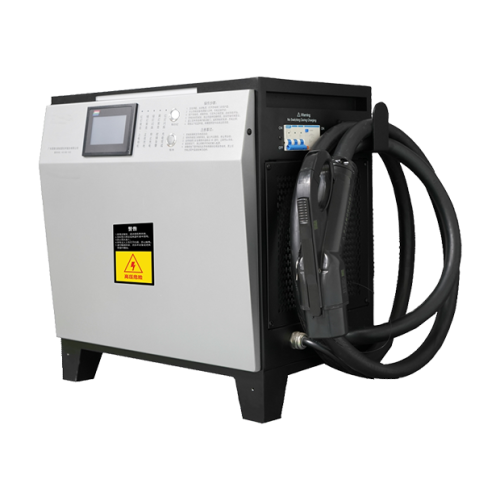
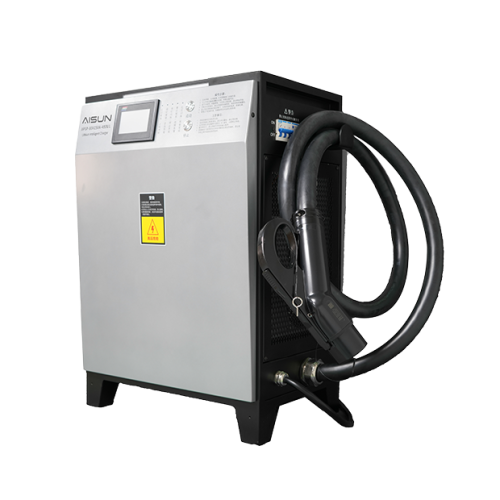
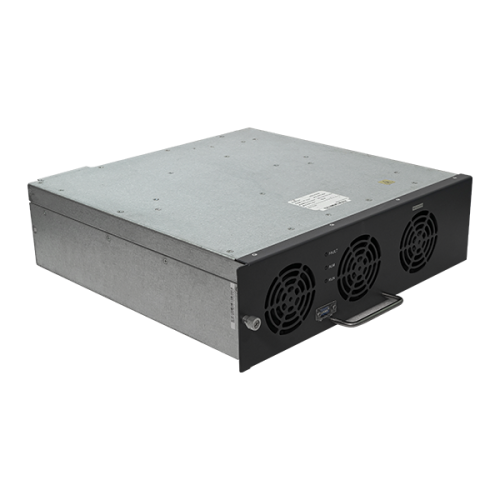
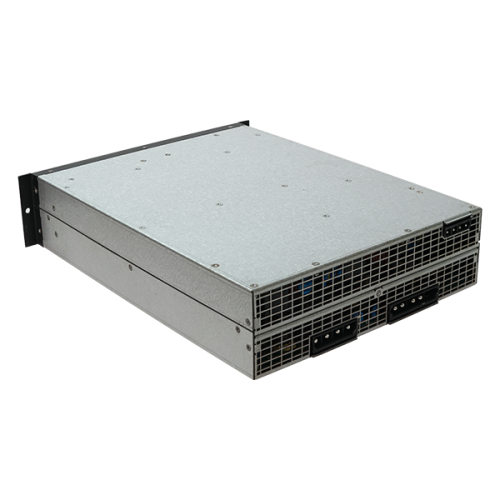
- Unbox the Forklift Charger: Start by carefully cutting the tape to open the carton. Remove the protective foam and take the electric forklift charger out of the box.
- Place the Charger on a Flat Surface: Position the charger on a flat, horizontal surface that is heat-resistant. Ensure there is at least 0.5 meters of clearance around the charger to allow for proper ventilation.
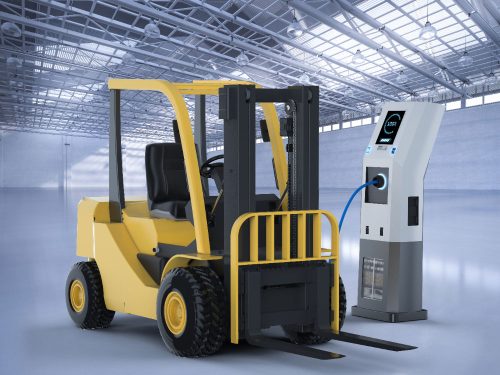
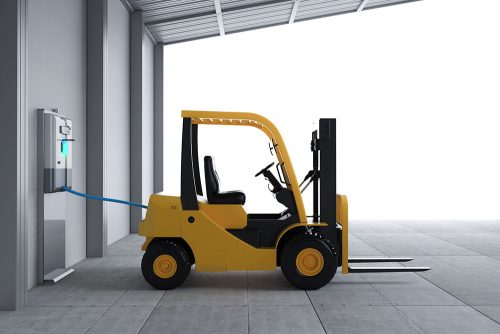
- Connect to Power Safely: Before plugging in, make sure the charger's power switch is in the "off" position. Then, connect the charger to a properly grounded electrical socket.
Installation Best Practices: Dos and Don’ts
Essential Dos:
- Correct Placement: Always place the charger on a stable, heat-resistant surface. It must be set up horizontally, never upside down or on an incline.
- Ensure Proper Ventilation: Keep a minimum of 0.5 meters of space around the charger to ensure it stays cool and operates efficiently.
- Install in Suitable Conditions: Make sure the charger is installed in an environment with temperatures ranging from -20°C to 45°C to avoid overheating.
- Ground the Charger: Properly grounding the charger is critical to prevent the risk of electric shock or fire.
Avoid These Pitfalls:
- Do Not Block Airflow: Keep the charger free from any potential obstructions like fibers, paper, wood chips, or metal fragments, which could enter the device and cause fire hazards.
- Avoid Improper Installations: Do not install the charger in environments with extreme temperatures or inadequate ventilation, as this could compromise safety and performance.
By following this forklift battery charger installation guide, you ensure a safe and effective setup, optimizing the lifespan and efficiency of your charging equipment.

