Step-by-Step Installation Process:
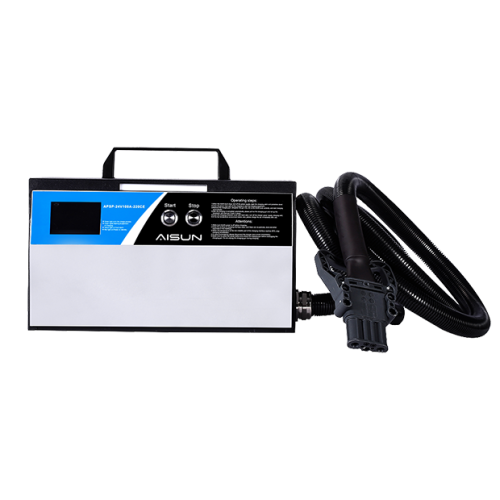
- Unpack the Charger: Carefully open the wooden box using professional tools to avoid damage.
- Remove the Fasteners: Use a screwdriver to remove the screws securing the charger at the bottom of the wooden box.
- Position the Charger: Place the charger on a flat, horizontal surface. Adjust the legs to ensure it is properly positioned for charging. Ensure there is at least 0.5 meters of clearance on both sides for ventilation.
Installation Dos and Don’ts:
Dos:
- Correct Placement: Ensure the charger is placed on a stable, heat-resistant surface. It must be set up horizontally—never upside down or at an angle.
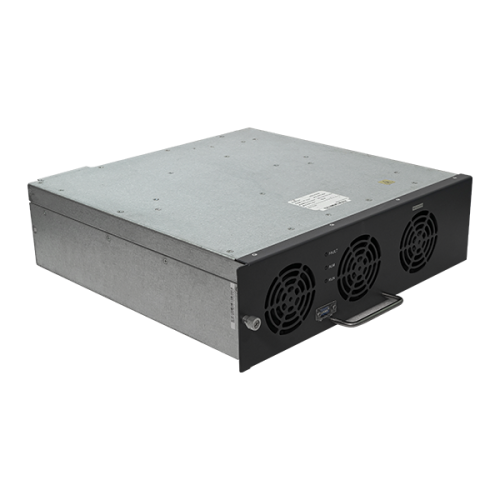
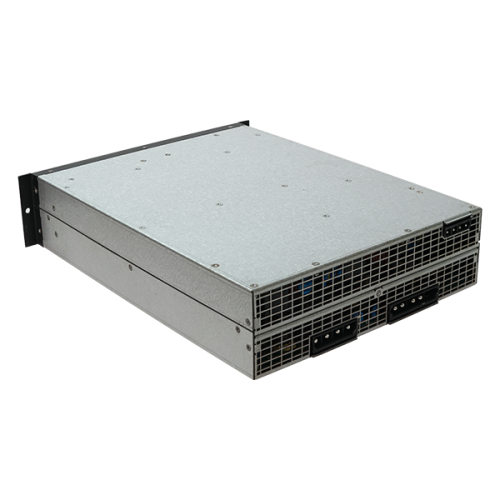
- Provide Adequate Ventilation: Maintain a minimum distance of 300mm between the air inlet and any wall, and at least 1000mm between the air outlet and the wall to ensure proper cooling.
- Install in Suitable Conditions: Ensure the charger operates in an environment with a temperature range between -20°C and 45°C for optimal performance.
- Ground the Charger Properly: Ensure the ground terminal is securely grounded to prevent the risk of electric shock or fire.
Don’ts:
- Avoid Obstructions: Keep the charger free from foreign objects such as fibers, paper, wood chips, or metal fragments to prevent fire hazards.
- Do Not Touch Live Components: After connecting the charger to the power supply, avoid touching the brush or brush electrode to prevent electric shock.
- Avoid Improper Installation: Do not place the charger in environments that lack proper ventilation or exceed the recommended temperature range.
By following this AGV charger installation guide, you ensure a safe, efficient setup that maximizes the lifespan and performance of your charging equipment.