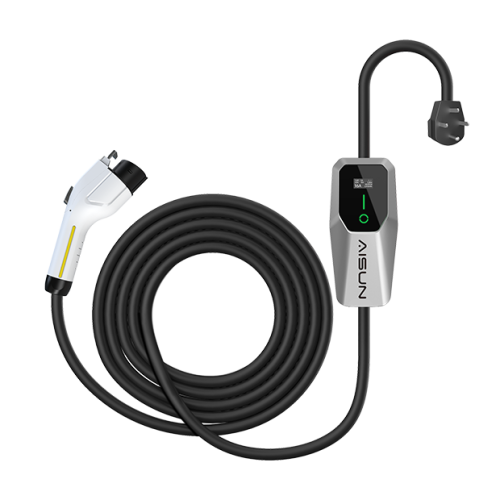
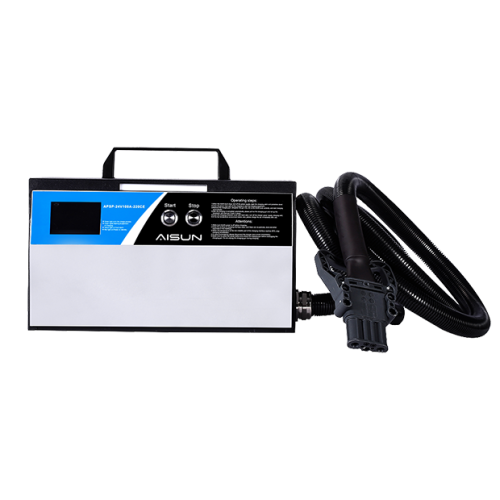
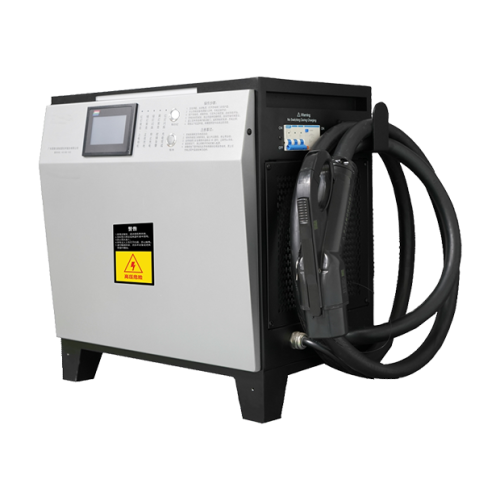
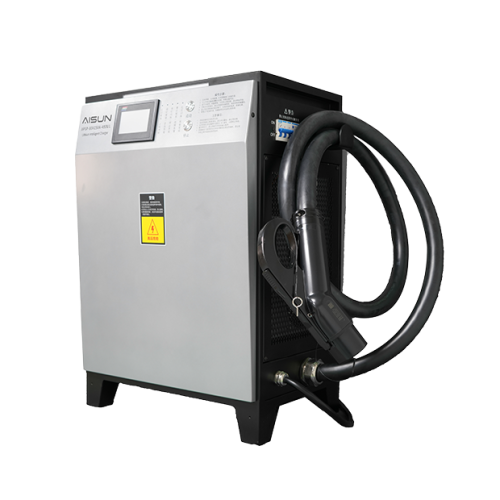
Step-by-Step Instructions for Safe Charging:
- Activate Standby Mode: Turn on the switch to set the charger into standby mode.
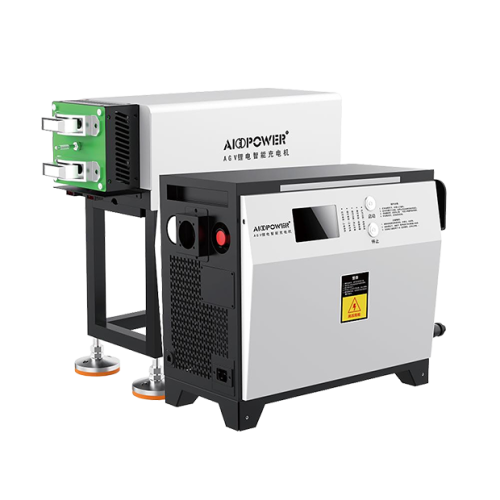
- Charging Request: When the AGV’s battery is low, it will automatically send a signal to request charging.
- Automated Positioning: The AGV will autonomously move to the charger and align itself for charging.
- Automatic Charging: Once properly positioned, the charger will automatically extend its brush into the AGV's charging port to begin the charging process.
- Completion and Standby: After charging is complete, the charger’s brush will automatically retract, and the charger will return to standby mode.
Best Practices: Dos and Don’ts for AGV Battery Charging
Dos:
- Professional Setup: Ensure that the charger is connected to the power supply only under the supervision of a qualified professional.
- Keep the Charger Clean and Dry: Verify that the charger is free of moisture and foreign objects before use.
- Maintain Clearance: Ensure there is at least 0.5 meters of clearance on both sides of the charger to allow for proper ventilation.
- Regular Maintenance: Clean the air inlet and outlet every 30 days to ensure efficient operation.
Don’ts:
- Avoid DIY Repairs: Never attempt to disassemble the charger yourself, as this can lead to electric shock, damage to the charger, and void the warranty.
- Keep Away from Obstructions: Ensure the charger remains unobstructed to prevent any operational hazards.
Following this AGV charger operation guide ensures safe, efficient, and reliable charging for your automated guided vehicles, optimizing performance and extending the lifespan of both the AGV and the charger.